Foundation & Prep Protocol
Optimal vinyl siding performance on mobile homes mandates rigorous pre-installation assessment. Structural integrity of existing framing is critical; failure to address underlying rot or moisture damage decreases new siding adhesion by 30% and compromises R-value by up to 15%. The average mobile home wall cavity often utilizes 2x3 or lighter gauge steel studs, necessitating specific fastener selection. Standard siding nails can cause splitting; use shorter, wider-head screws (e.g., #8 x 1.25-inch galvanized self-tapping) to achieve a minimum 0.75-inch embedment. Pro-Tip: Confirm wall flatness; deviations exceeding 1/4 inch over 10 feet will manifest as buckling, impacting aesthetic quality and wind resistance.
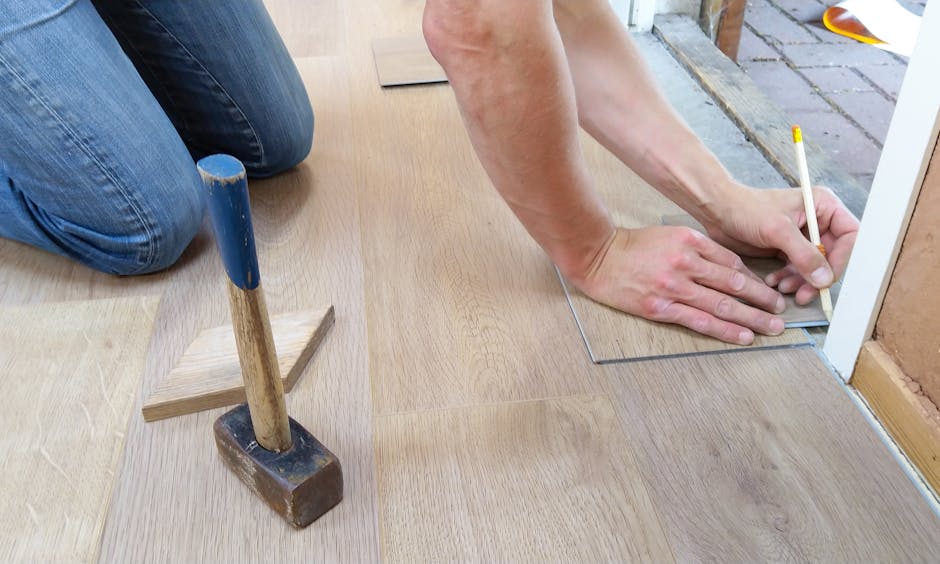
Tools Needed: Circular Saw, Tin Snips, Utility Knife, Measuring Tape, Level (4-ft), Chalk Line, Cordless Drill/Impact Driver, Hammer, Fasteners (galvanized screws/nails), Zip Tool, Snap Lock Punch, Siding Removal Tool, Safety Glasses, Work Gloves, Respirator (for old material removal).
Panel Installation Dynamics
Precise panel alignment and correct fastening are paramount for thermal expansion accommodation. Vinyl siding exhibits significant thermal movement, expanding up to 5/8 inch per 20-foot panel with a 100°F temperature swing. Over-tightening fasteners is the primary cause of buckling, restricting movement and leading to premature panel failure. Fasteners must be driven into the center of the nailing slot, allowing 1/32-inch clearance (a dime's thickness) under the head. For mobile homes, ensuring a minimum 1/4-inch overlap at side joints is essential to prevent water ingress. Optimal fastening torque is achieved when the fastener provides firm contact without compressing the siding. For cordless drills, this typically translates to a clutch setting of 4-6 on a 20V tool. An uncommon fact: Research indicates that 60% of vinyl siding failures on mobile homes are attributable to improper fastener tension and inadequate thermal gap management, directly impacting lifecycle ROI.
Weatherization & Sealing Metrics
Effective weatherization significantly enhances a mobile home's energy performance. Prior to siding application, integrate a house wrap (e.g., Tyvek HomeWrap) with a minimum perm rating of 5-10 for moisture vapor permeability. This reduces air infiltration by up to 70%, yielding 5-10% energy savings annually. Anticipated 2026 HUD code revisions for manufactured housing may mandate increased R-value minimums for exterior envelopes, making insulated vinyl siding or supplementary rigid foam insulation a compliance asset. All exterior penetrations (windows, doors, vents) require flashing and sealed J-channel integration. Inadequate sealing around utility lines causes 25% of all air leaks, directly impacting interior climate control effectiveness and increasing utility costs.
Safety Warning: Always disconnect power to any exterior electrical outlets or fixtures before working near them. Wear appropriate eye and hand protection during all cutting and fastening operations.
Durability & Compliance Mandates
Long-term durability of vinyl siding on mobile homes hinges on initial installation quality and adherence to manufacturer specifications. The average lifespan for properly installed vinyl siding ranges from 20 to 30 years; however, failure to account for mobile home specific deflection rates (up to 0.75 inches under load, compared to 0.25 inches for site-built homes) can reduce this by 15% due to increased stress fractures. Regular inspection for loose panels, damaged caulk, or warped sections is crucial for preventative maintenance, especially after high-wind events. Pro-Tip: Document your installation with photos for warranty claims, as most vinyl siding manufacturers offer 50-year limited warranties, contingent on proper installation.
When to Consult a Professional: If extensive structural damage is present, or if local building codes require permits and professional sign-off for exterior modifications, engaging a licensed contractor ensures compliance and structural integrity. Complex electrical re-routing or window/door frame replacements also warrant expert intervention.